Nvidia Jetson Orin ™
Supported Jetson Orin Devices
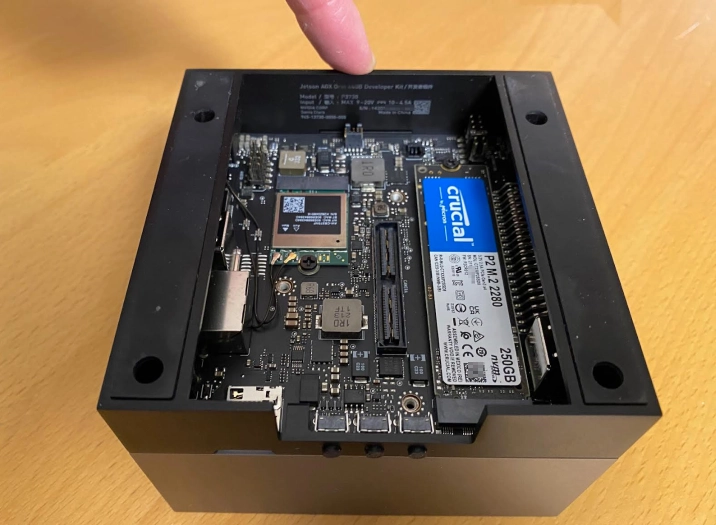
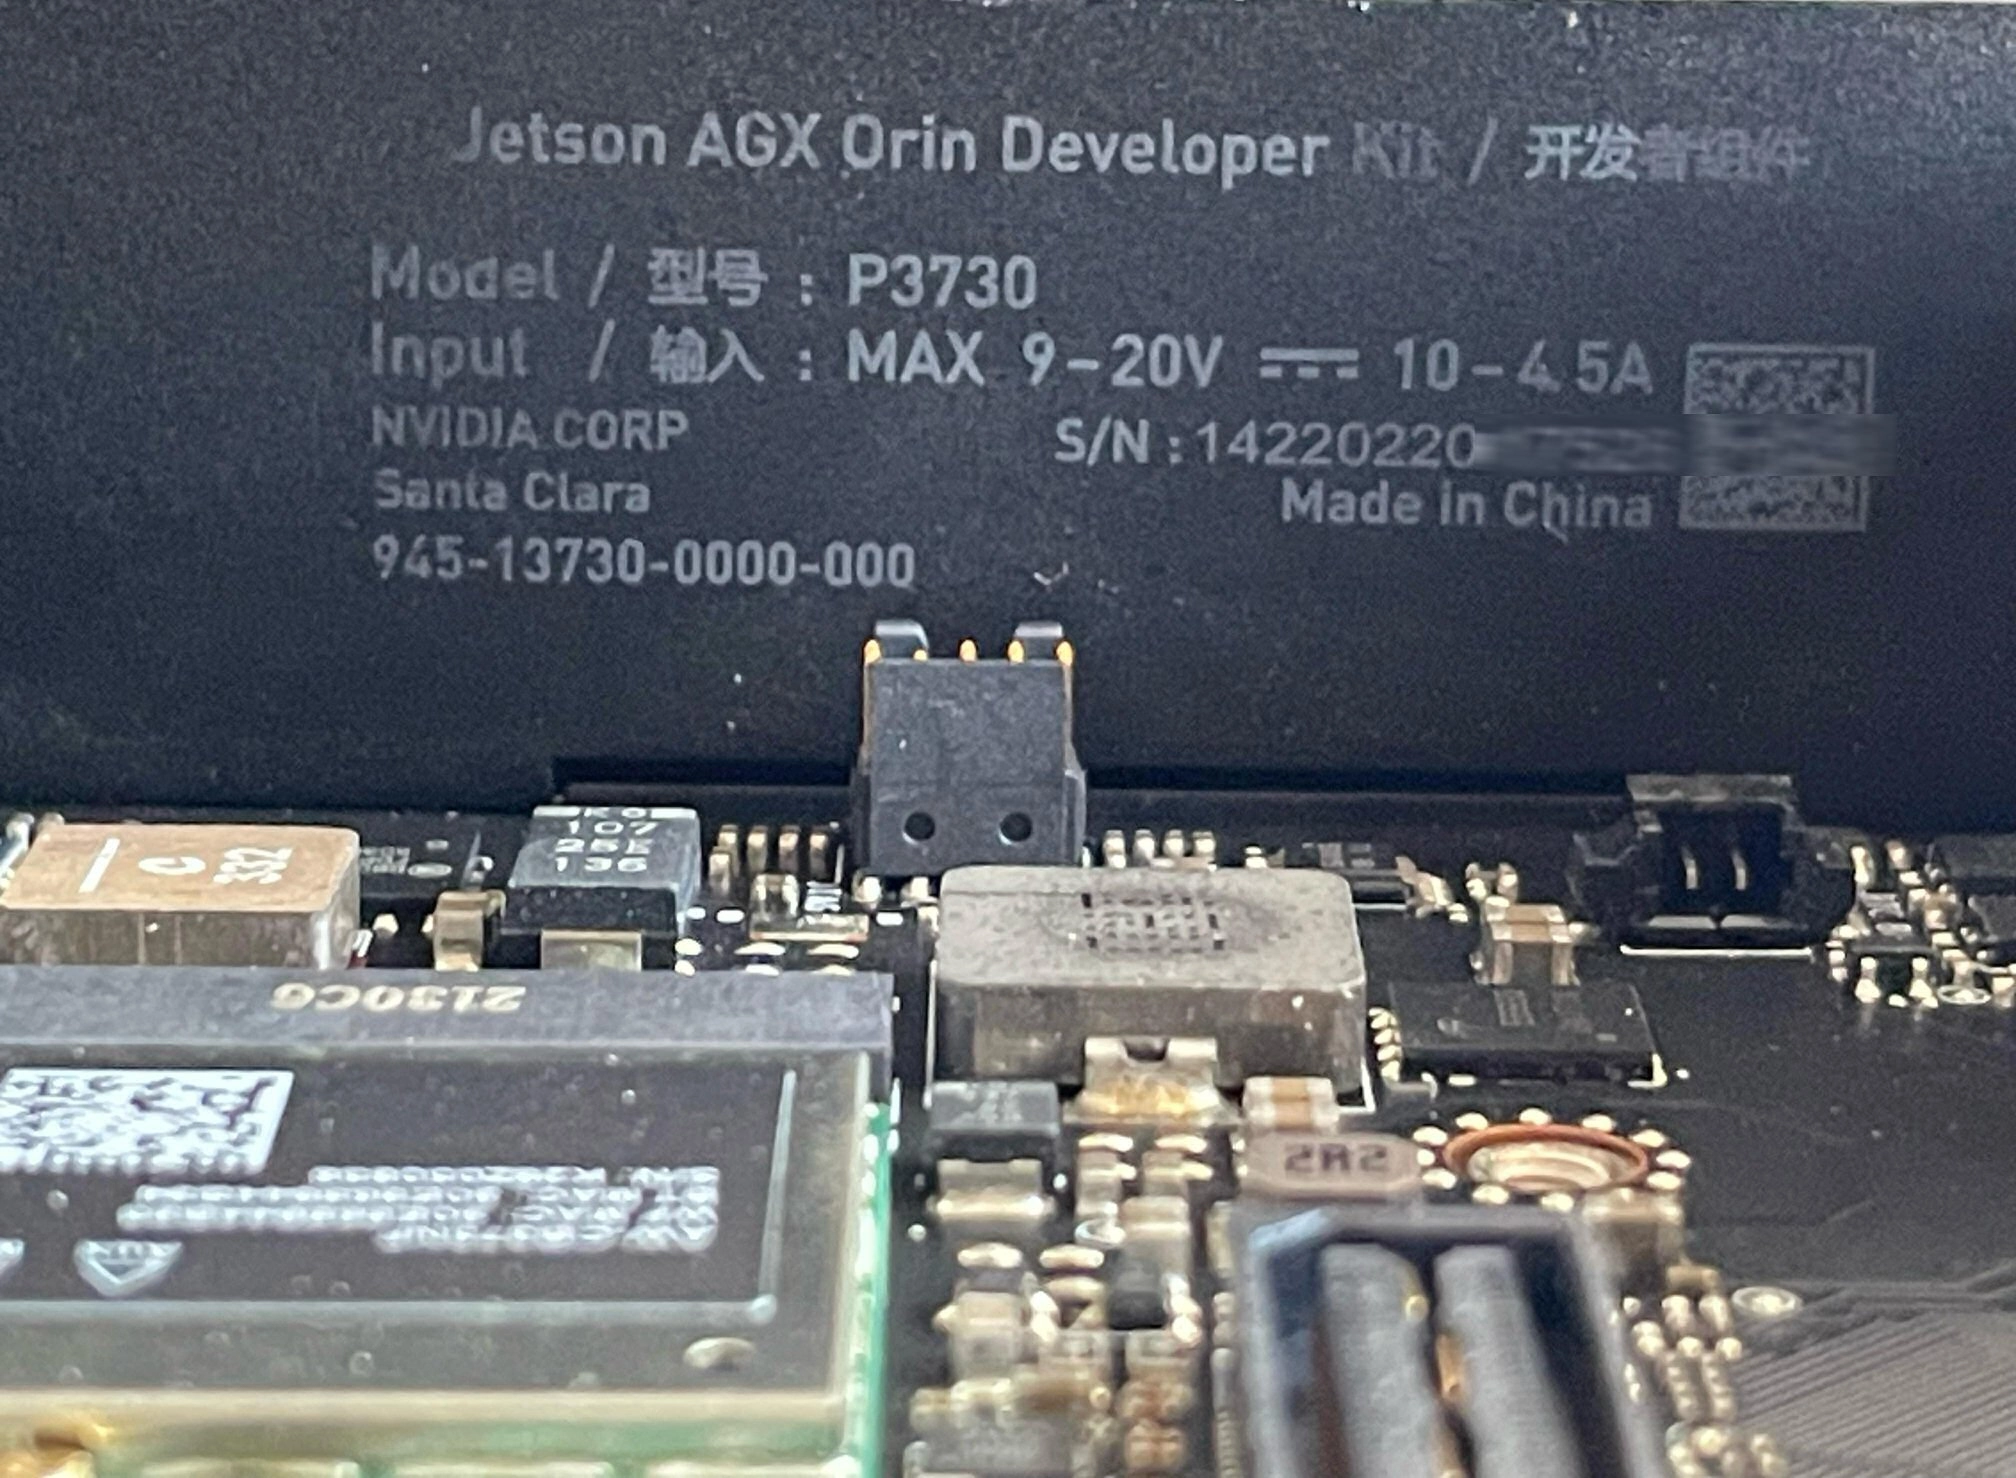
AGX Orin Devkit 32GB
Nvidia Jetson AGX Orin Devkit 32GB
The Nvidia Jetson AGX 32GB development kit can be identified by the label printed on the inside bottom of the unit as shown. It mentions part number 975-13730-0000-000 but does not actually say 32GB.
AGX Orin Devkit 64GB
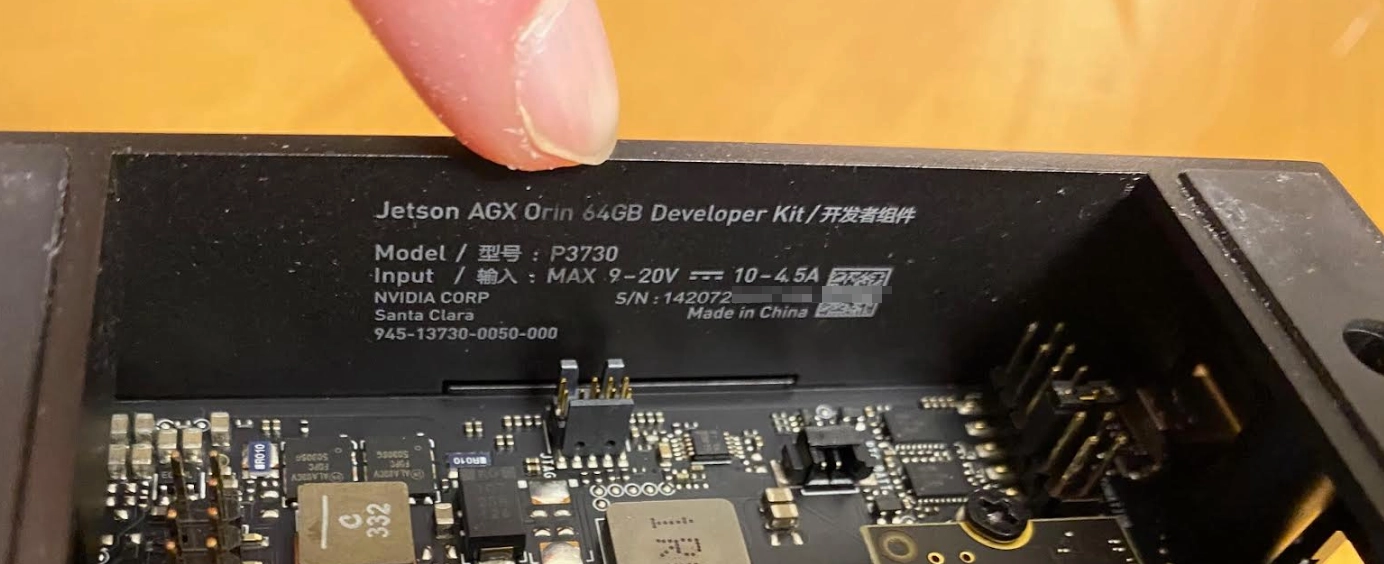
Nvidia Jetson AGX Orin Devkit 64GB
The Nvidia Jetson 64 GB development kit also has a label on the inside bottom as shown. It mentions part number 945-13730-0050-000 and reads “Jetson AGX Orin 64GB Developer Kit”.

Orin Nano 8GB (SD) Devkit NVME
Nvidia Jetson Orin Nano 8GB (SD) Devkit NVME
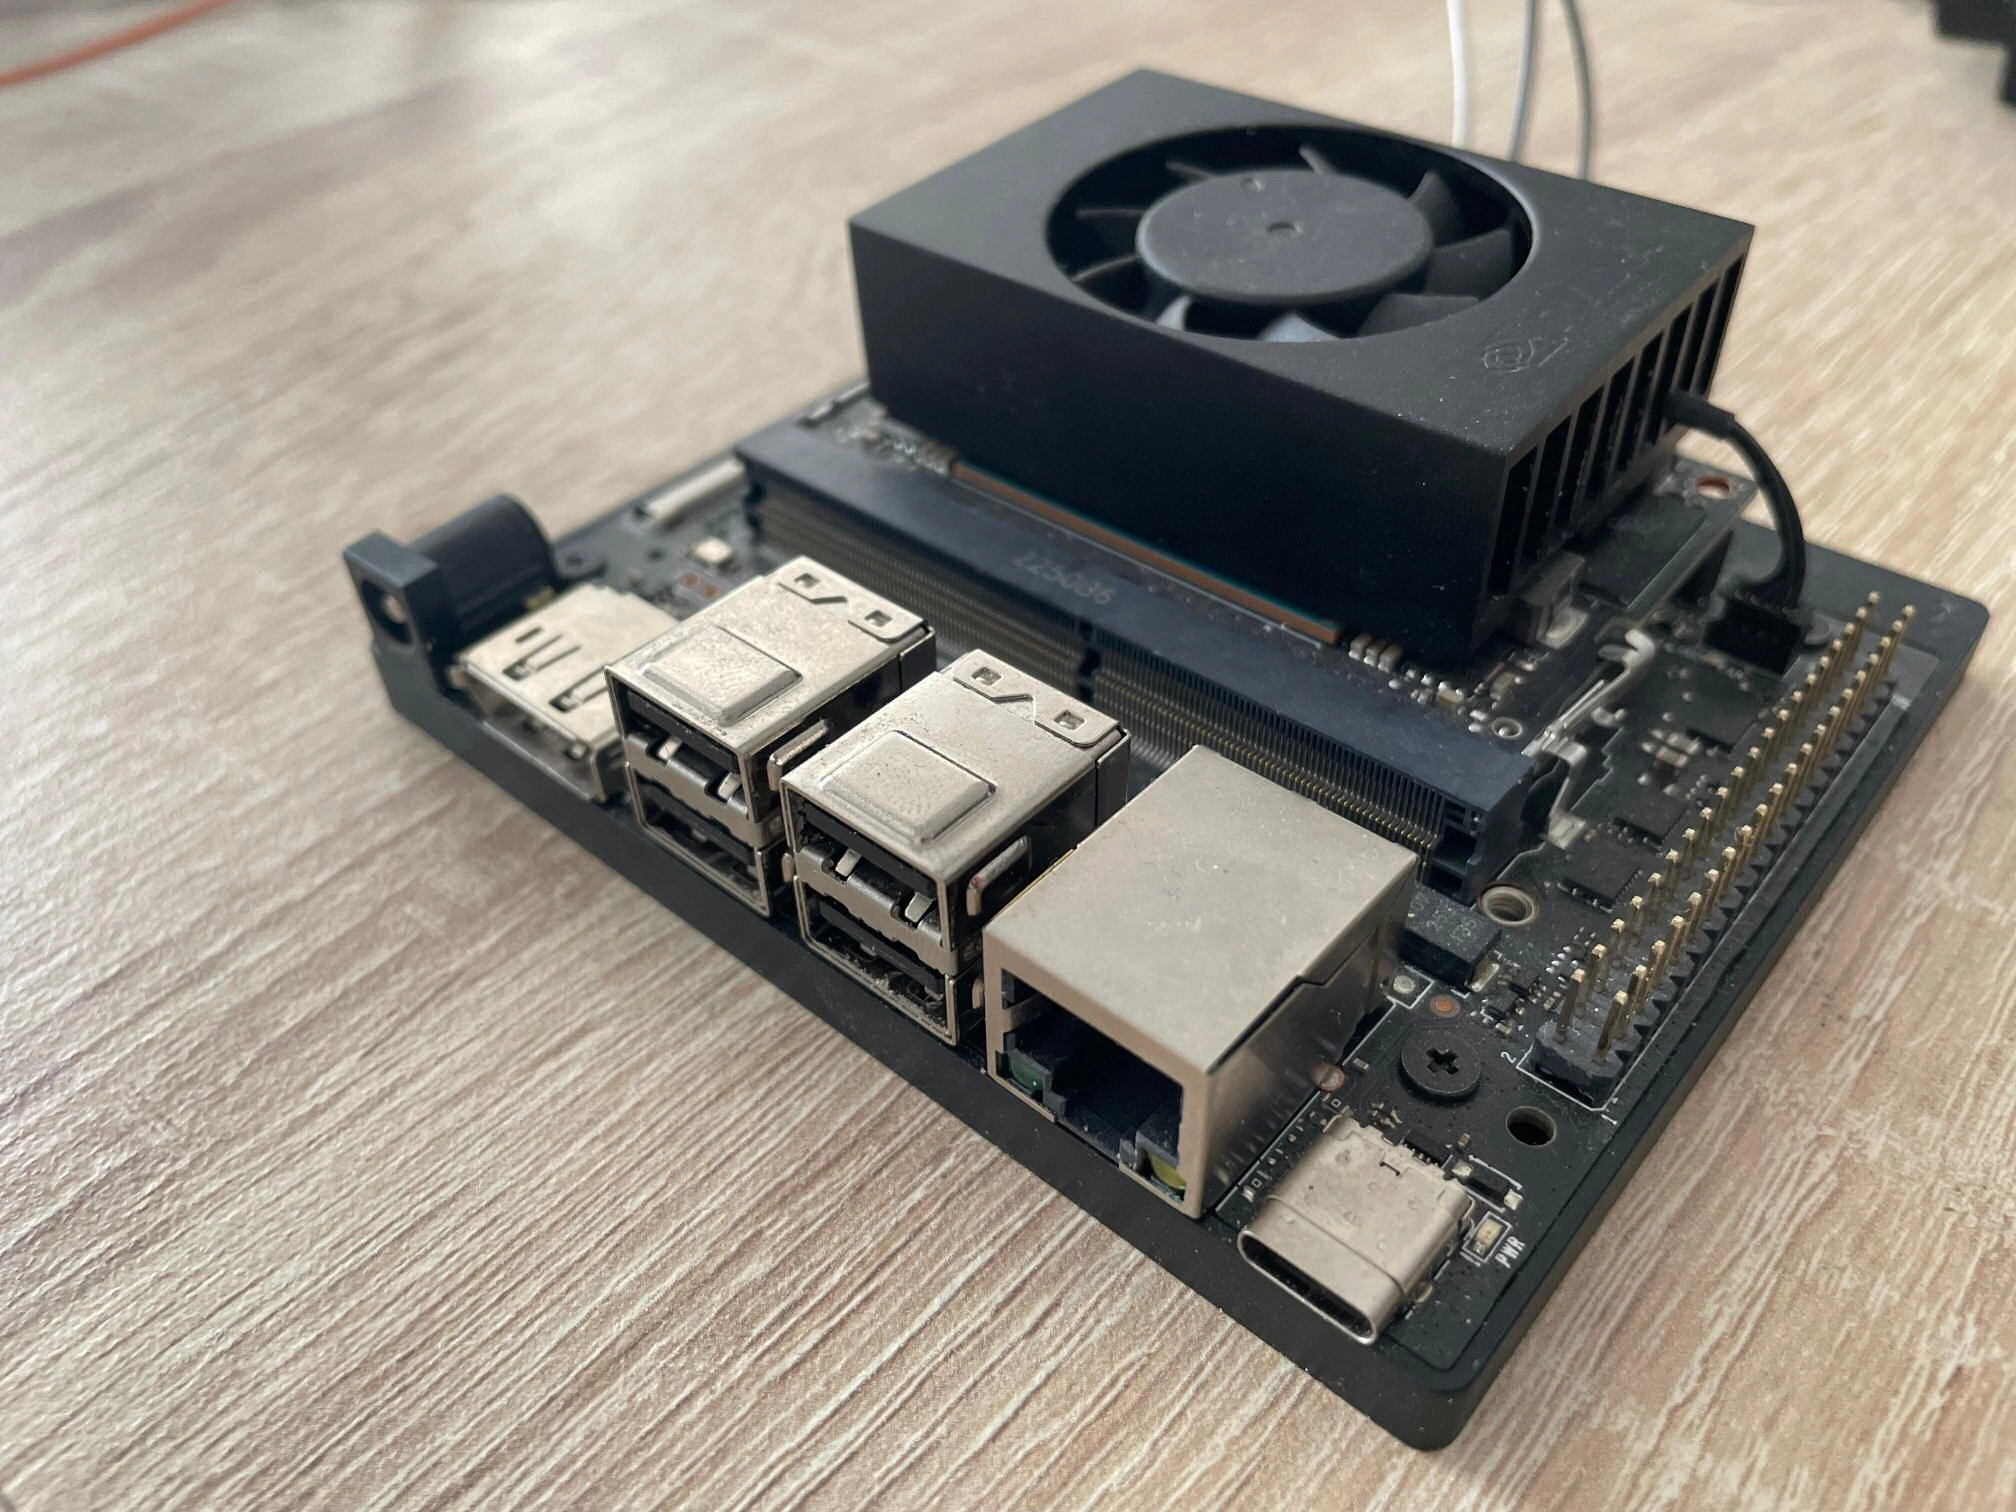
The Orin Nano 8GB SD module has the part number 900-13767-0050-000. This number may not be printed on some modules, however, the part can be distinguished by having an SD-CARD slot.
Orin Nano 8GB Production module
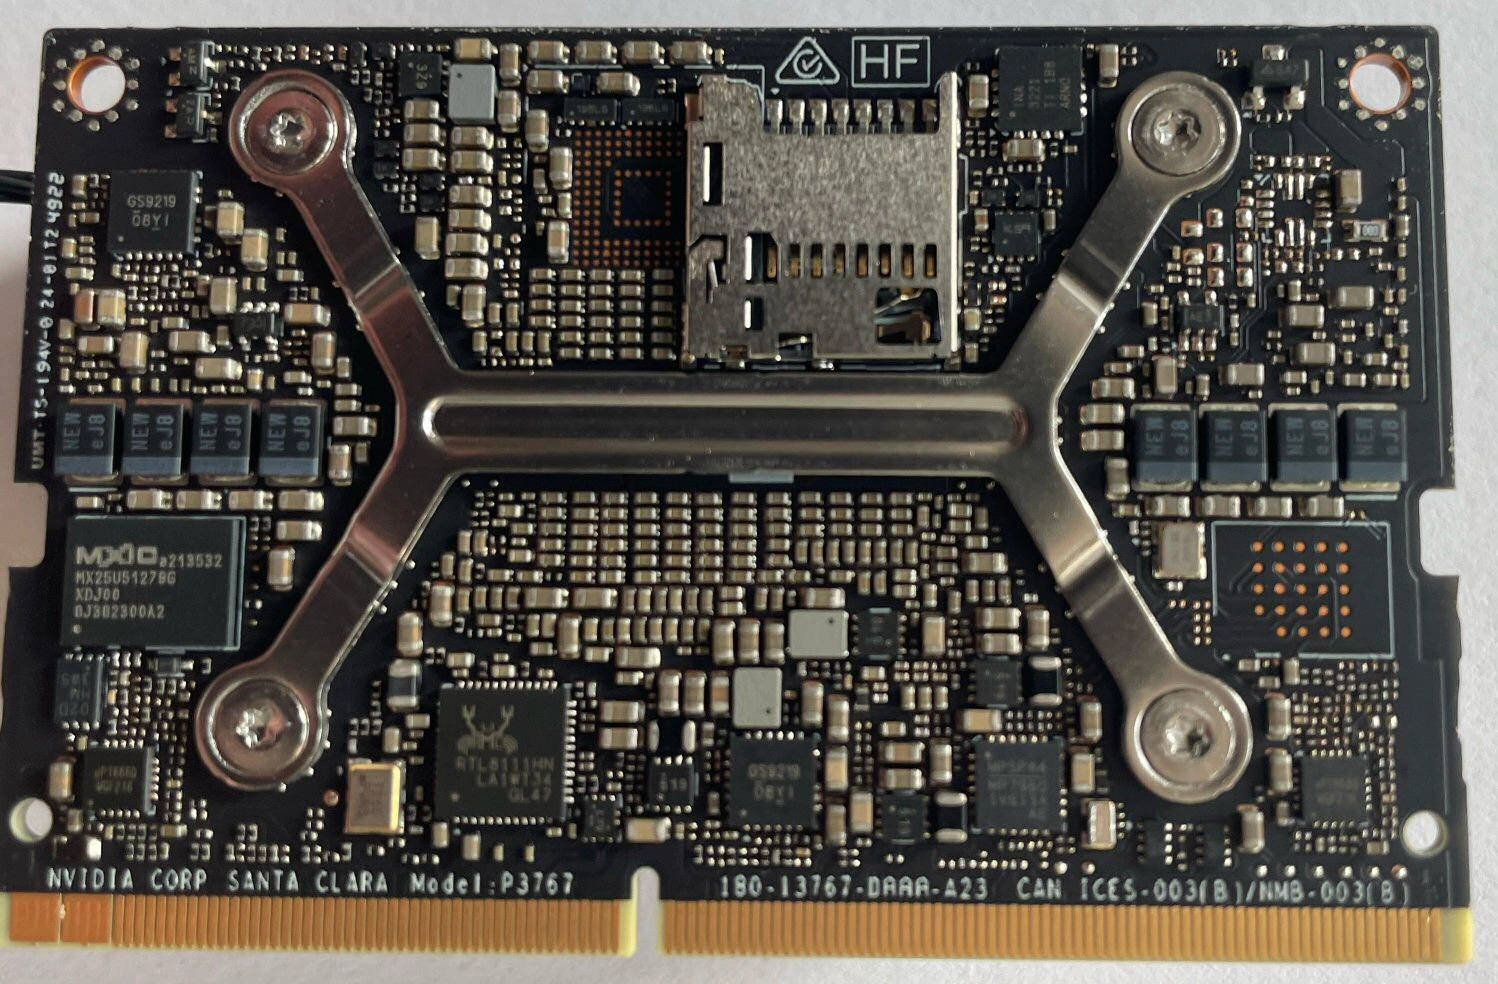
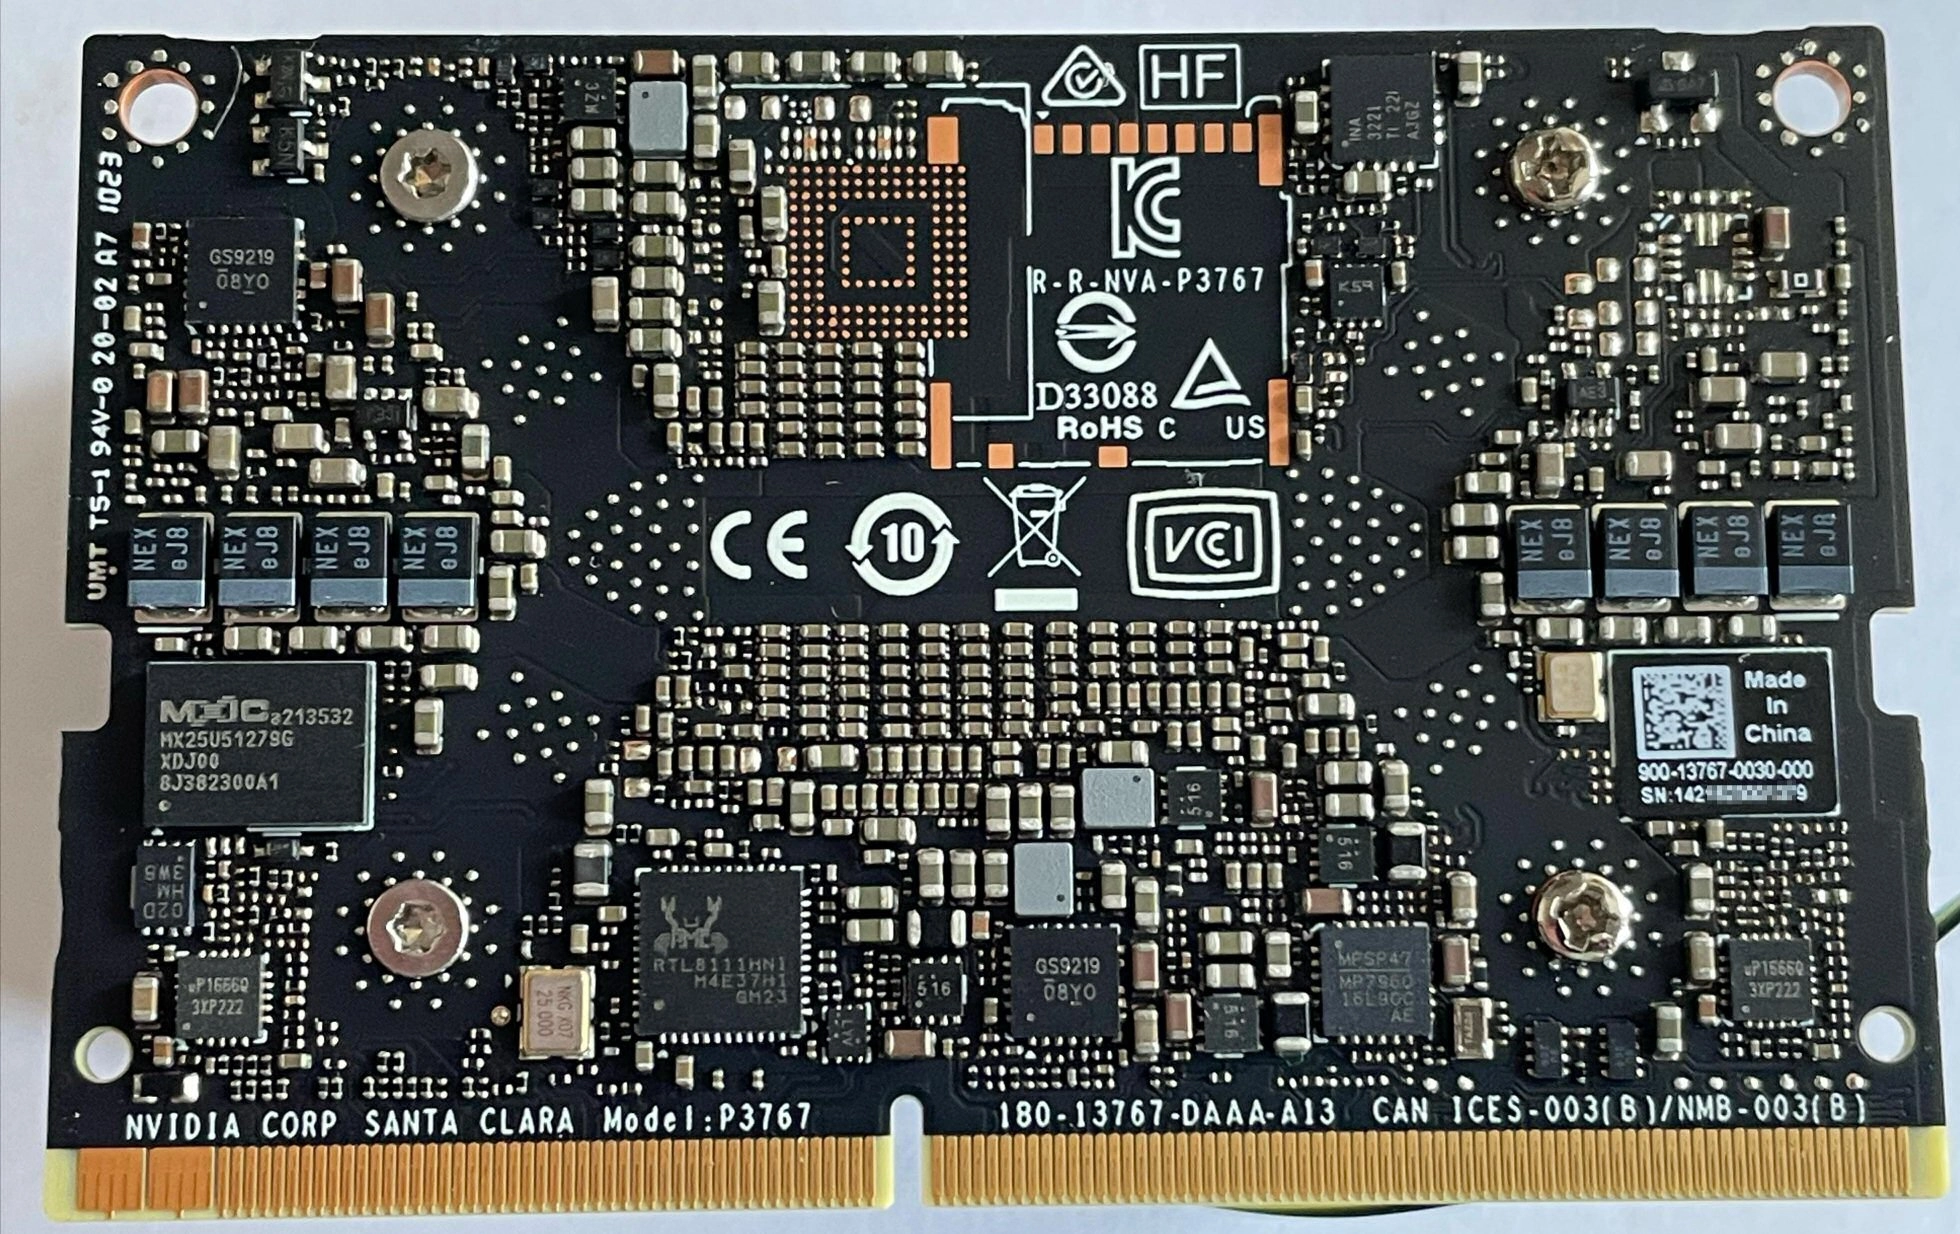
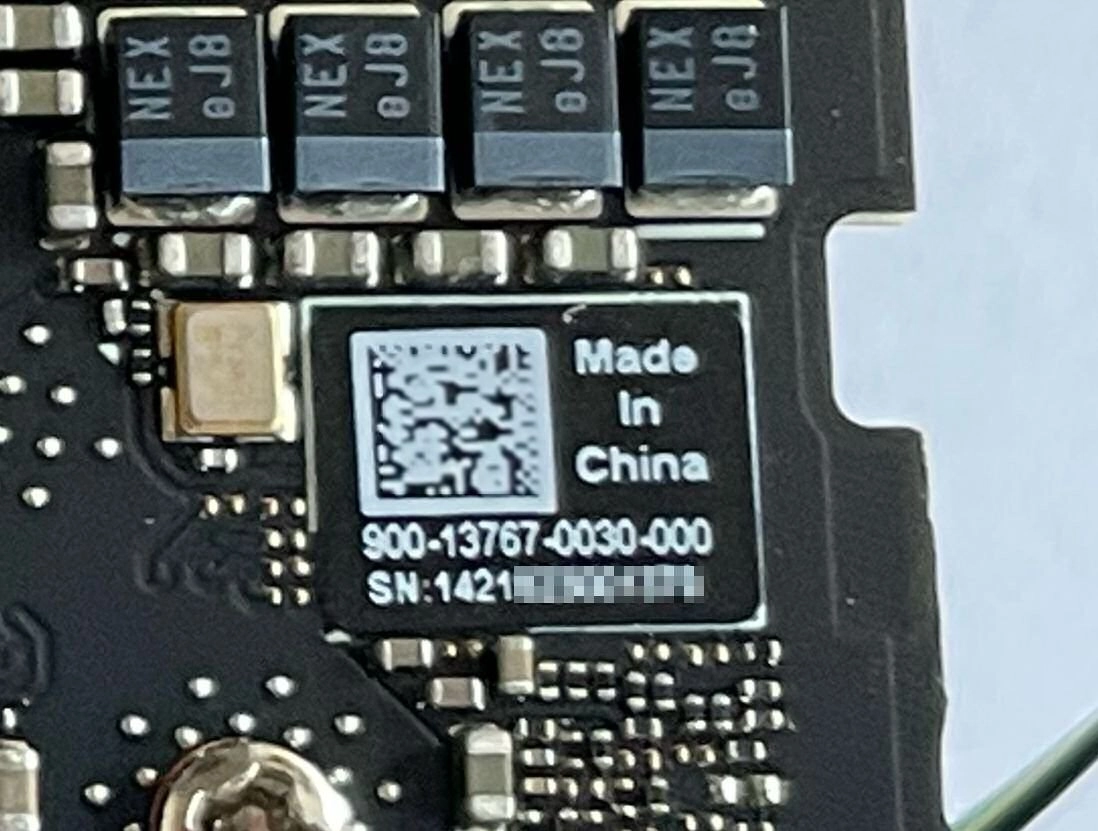
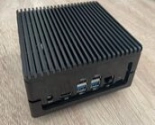
Nvidia Jetson Orin Nano 8GB Production module
The Orin Nano production module has the part number 900-13767-0030-000, which can be observed on the bottom. The main difference from the Orin Nano SD - 900-13767-0050-000 - is that it does not have an SD card slot. This module can be used with a Jetson Orin Nano Devkit carrier board, along with the balenaOS image for the Jetson Orin Nano 8GB (SD) Devkit, provided that the corresponding kernel device-tree is configured in your balena-cloud device configuration page.
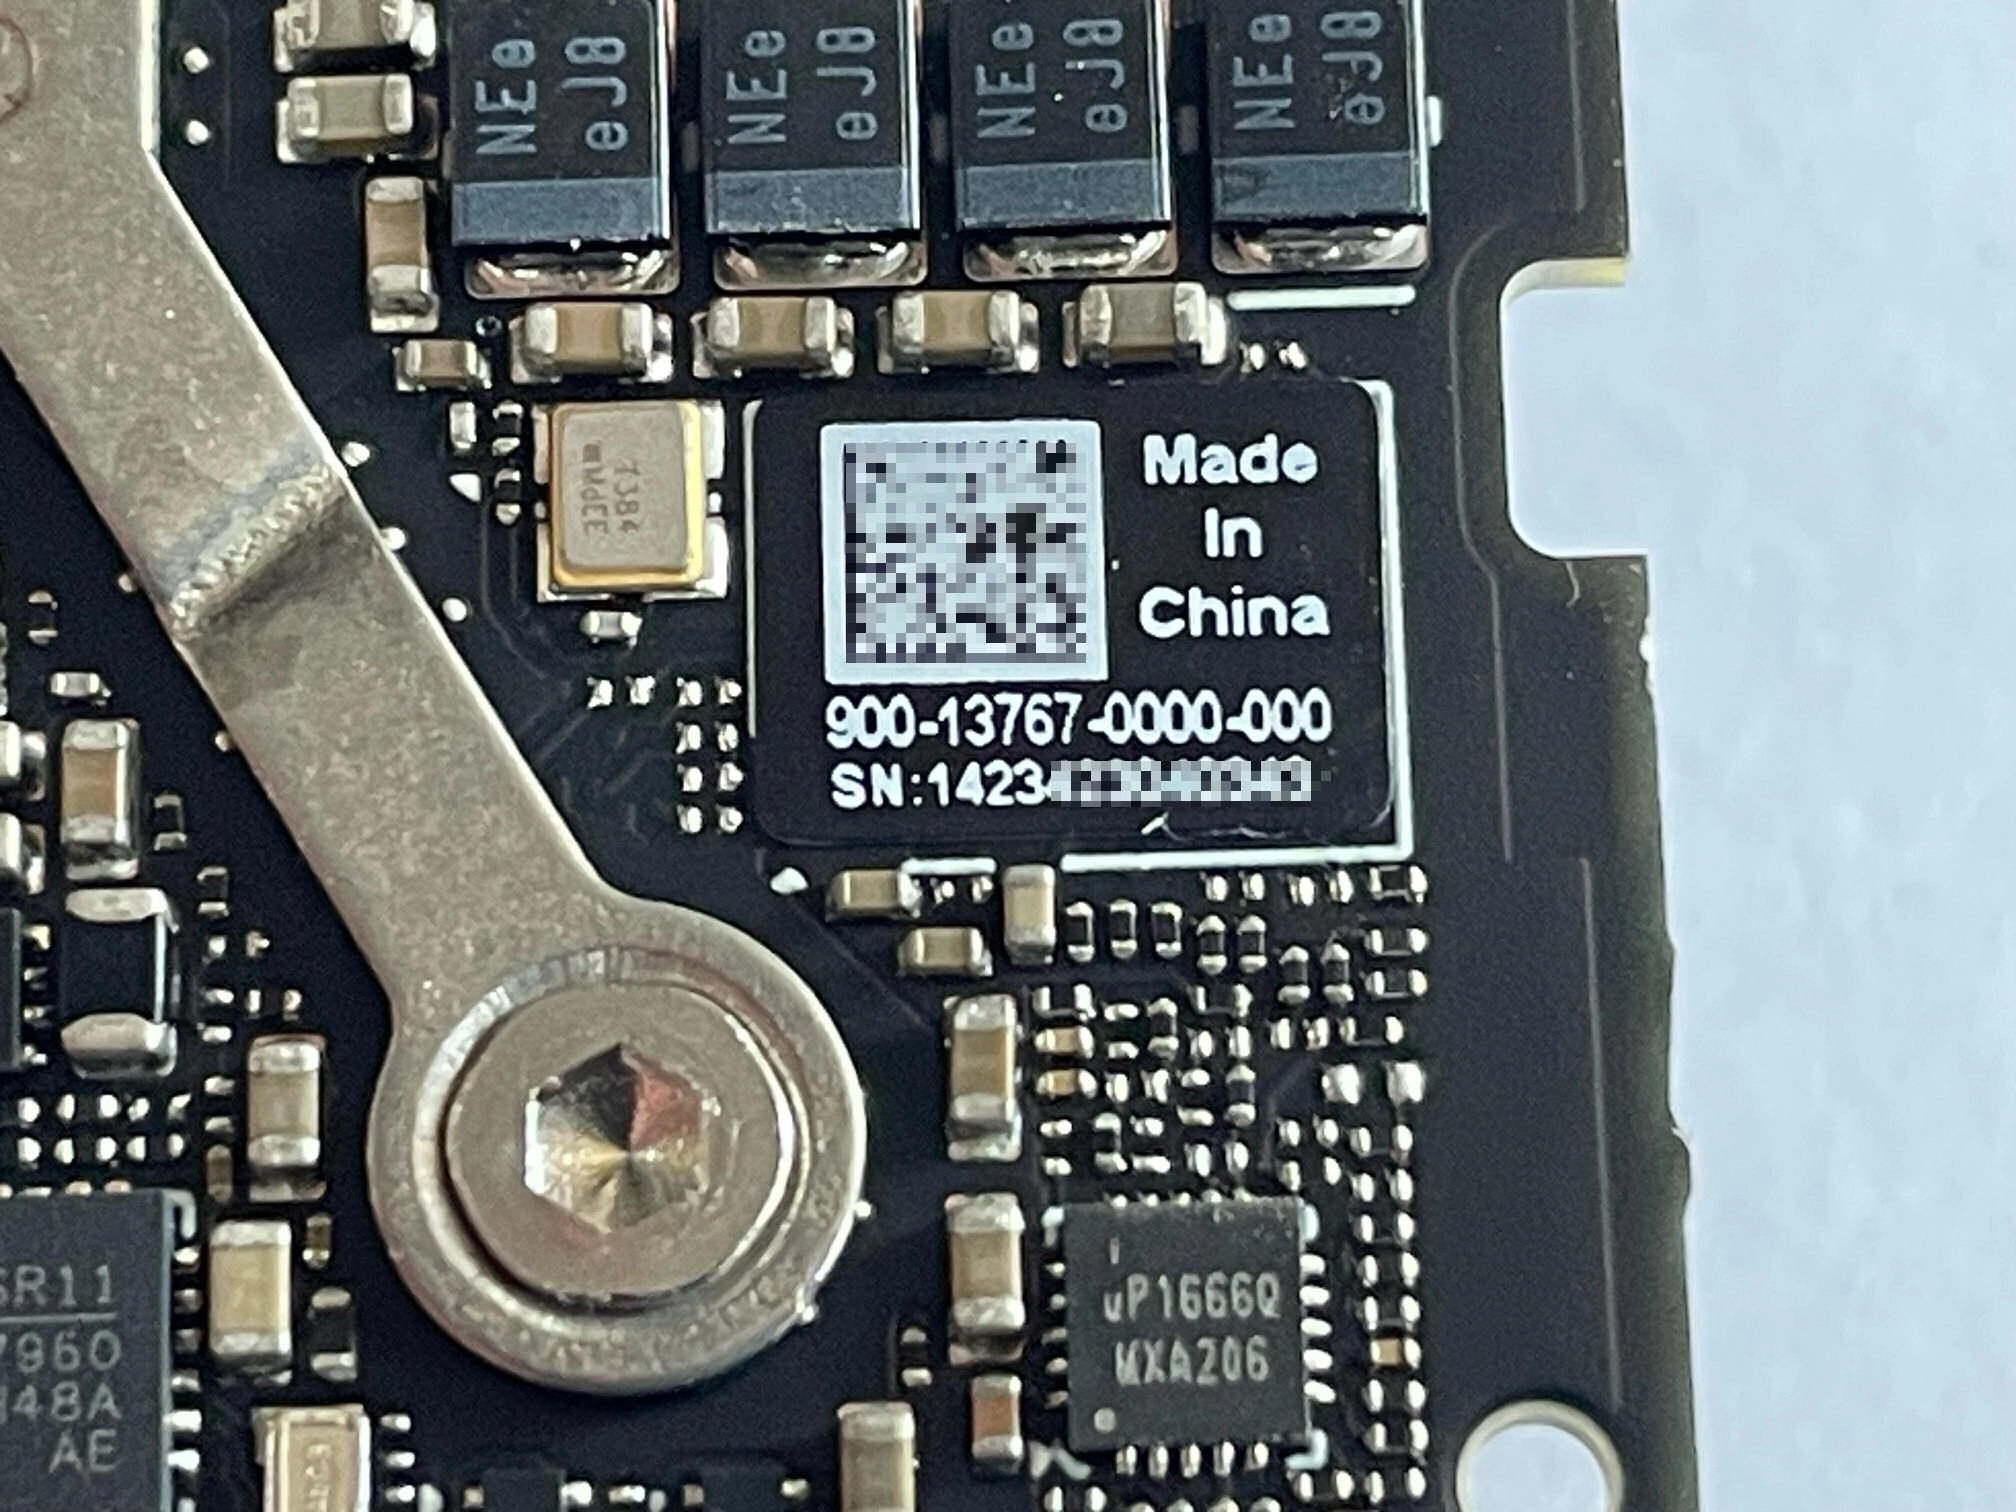
Nvidia Jetson Orin NX 16GB in Xavier NX Devkit NVME
Nvidia Jetson Orin NX 16GB in Xavier NX Devkit NVME
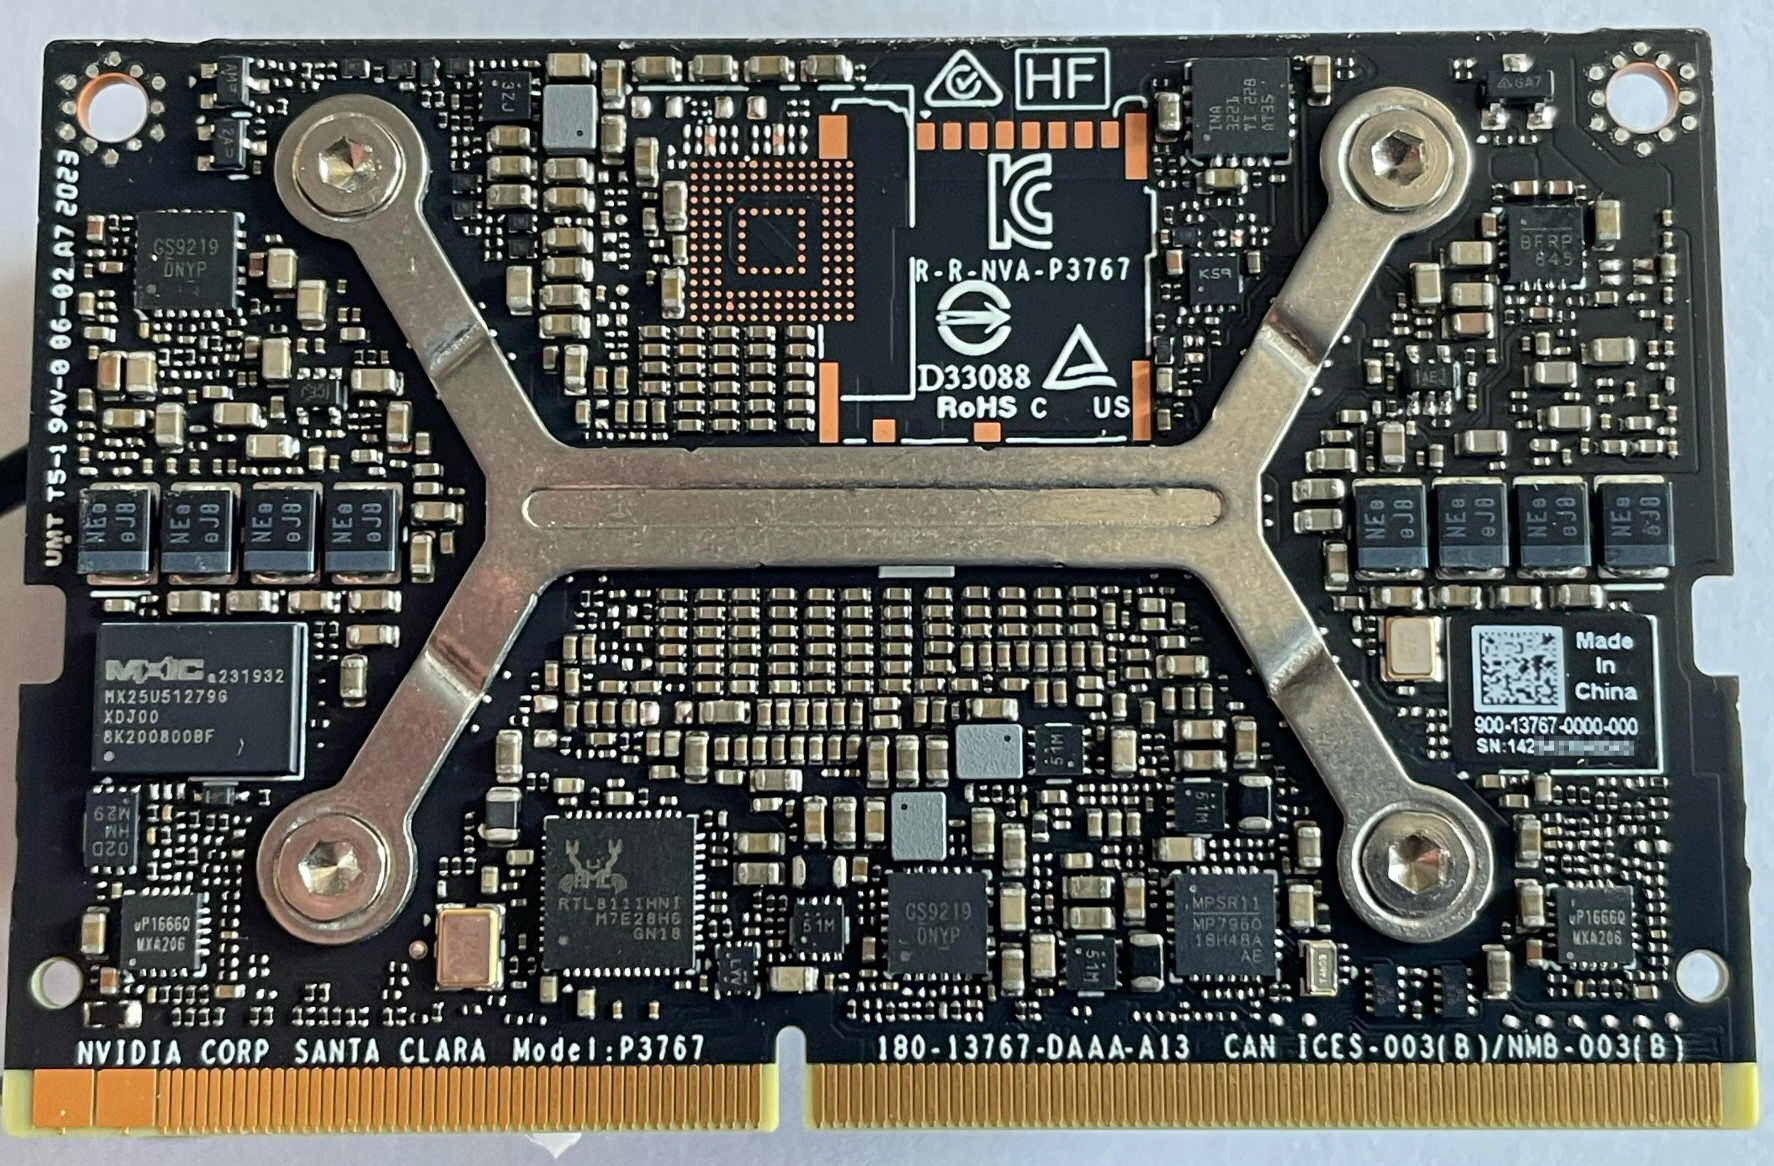
Part number 900-13767-0000-000 is printed on the right side of the SOM bottom side, and can only be observed if the module is taken out of the devkit:

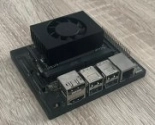
Seeed reComputer J4012 Jetson Orin NX 16GB
Seeed reComputer J4012 Jetson Orin NX 16GB
The device has the Seeed Studio logo on the back, and the following sticker on the bottom:
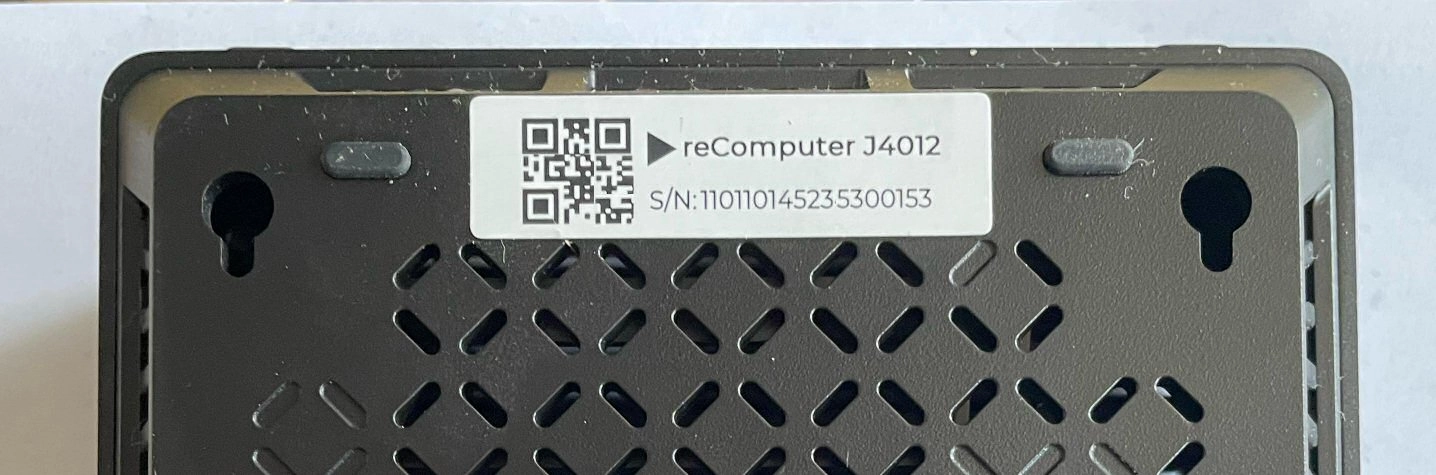
The SOM in the Seeed reComputer J012 is a Jetson Orin NX 16GB, which has the part number 900-13767-0000-000
Seeed reComputer J3010 Jetson Orin Nano 4GB
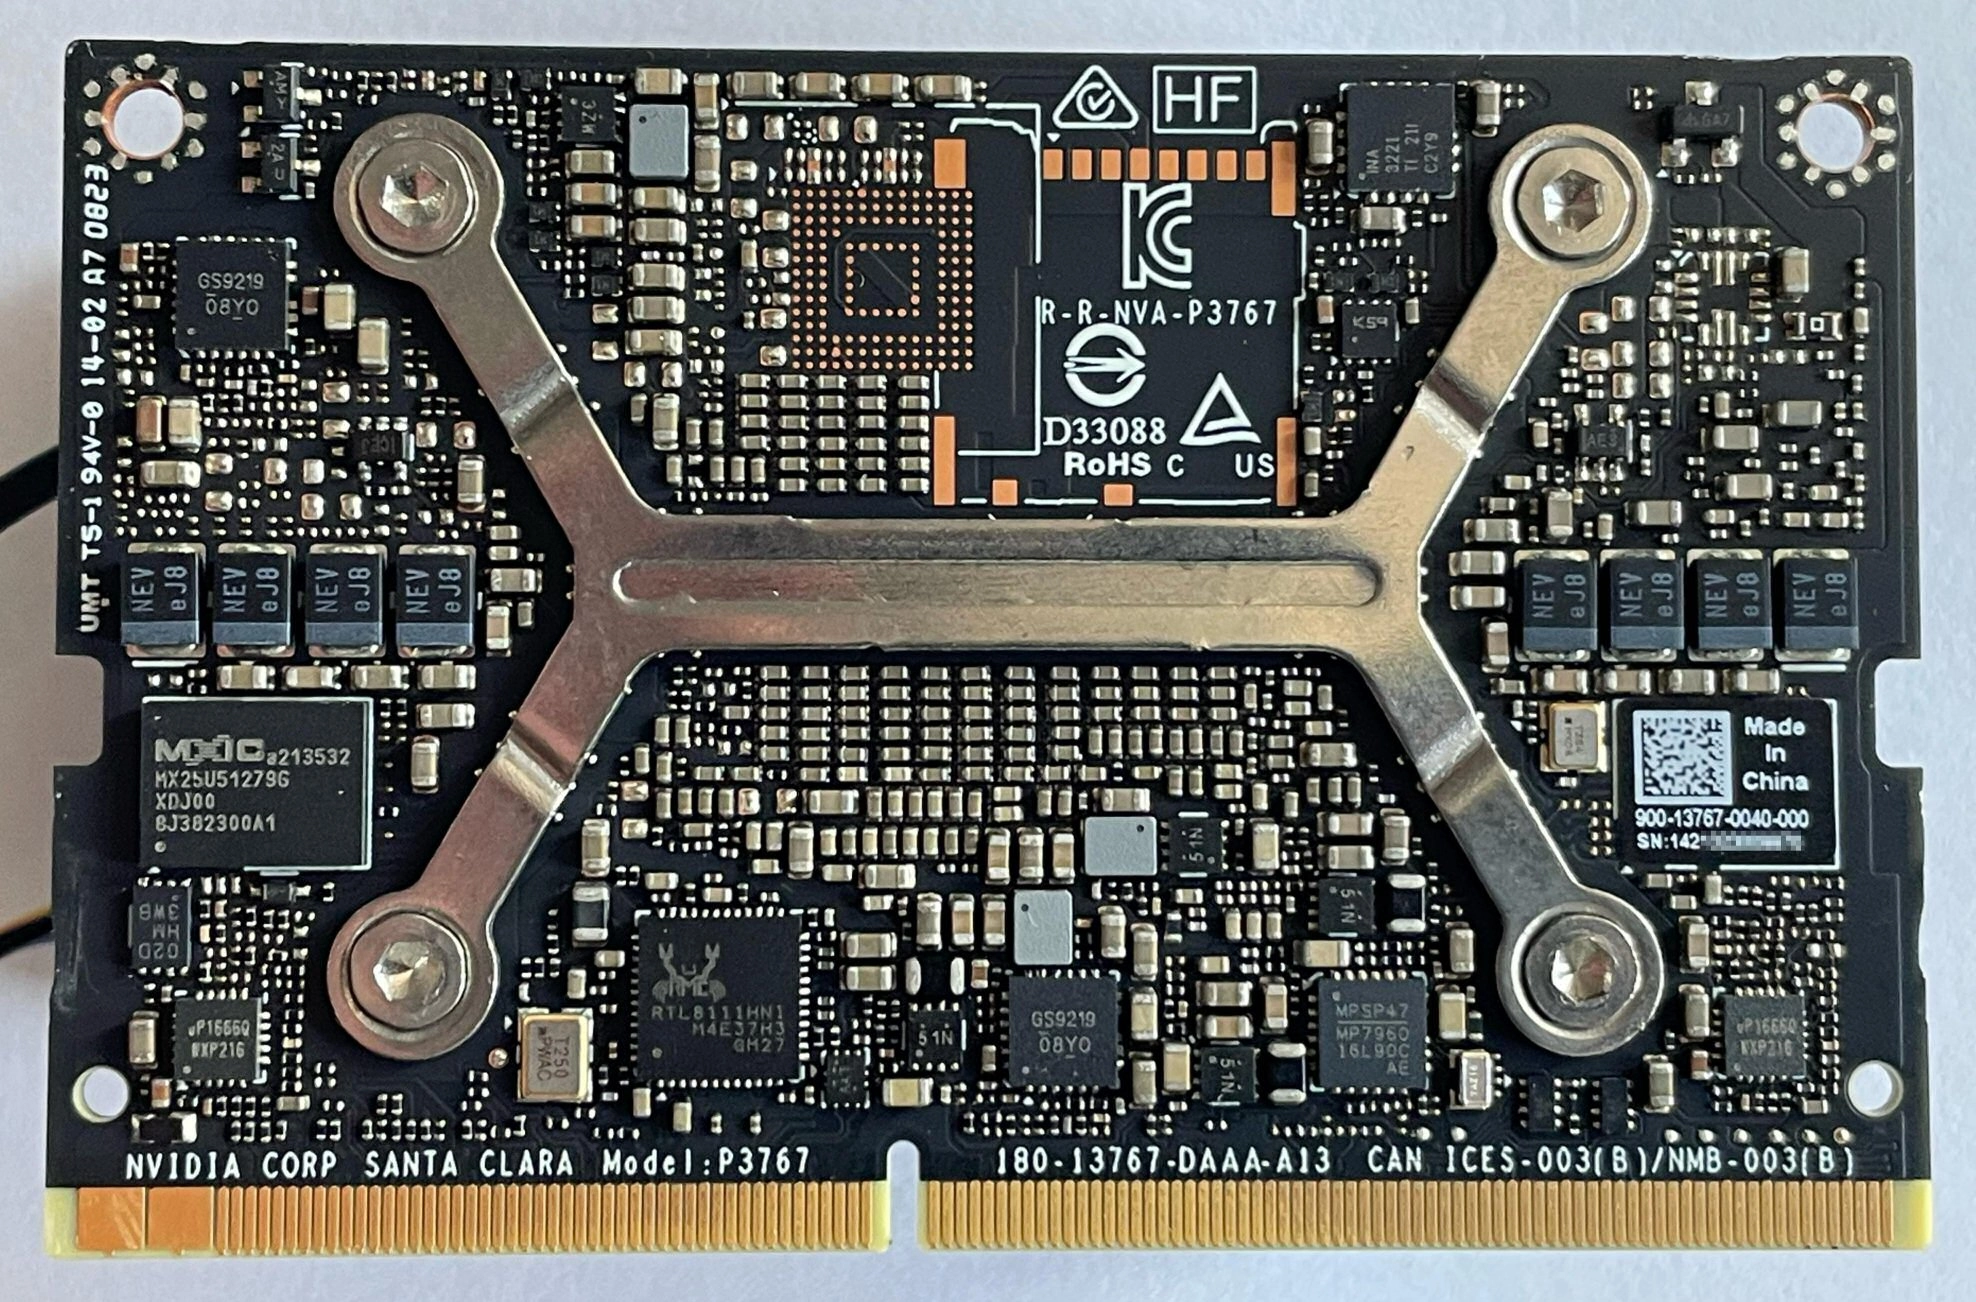
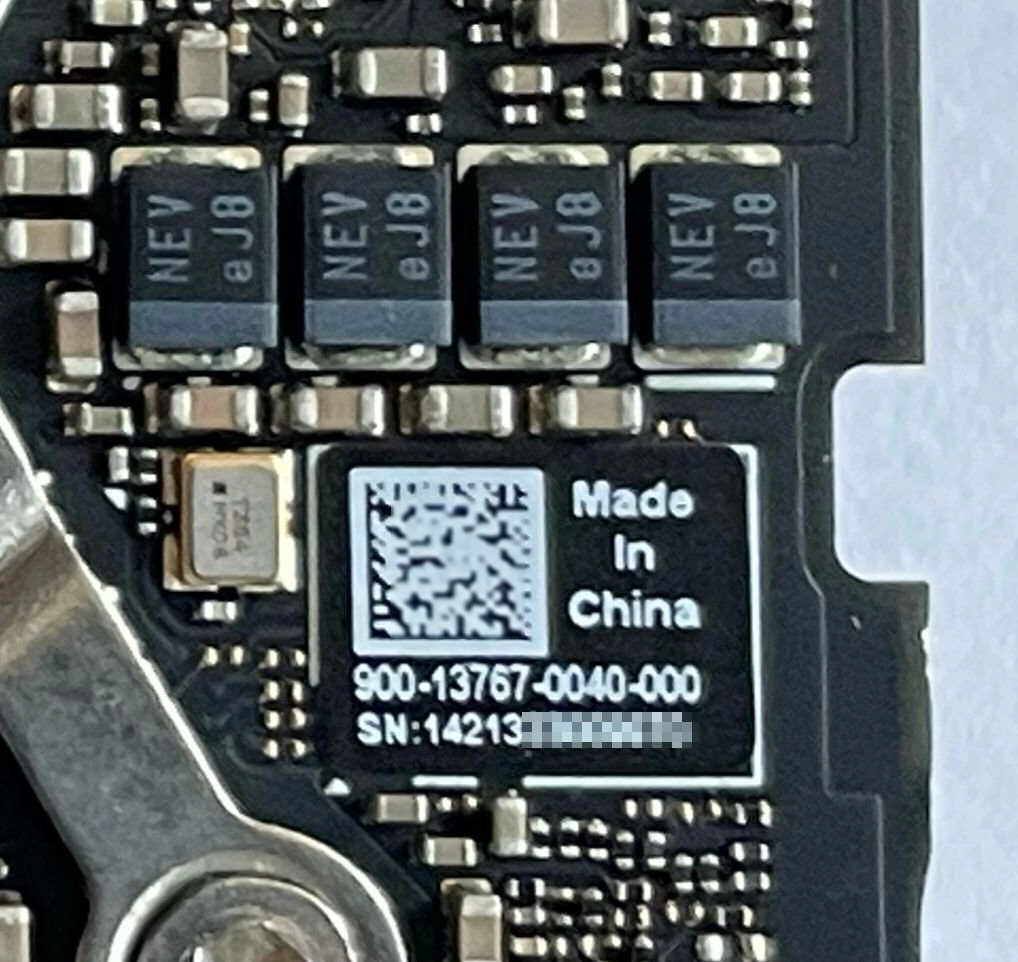
Seeed reComputer J3010 Jetson Orin Nano 4GB
The device has the Seeed Studio logo on the back, and the following sticker on the bottom:

The SOM in the Seeed reComputer J3010 is a Jetson Orin Nano 4GB, which has the part number 900-13767-0040-000. This part number can be found on the bottom of the SOM, if it is taken out of the carrier board:
Checking your Jetson Orin's UEFI firmware version
You can check which UEFI firmware version your Jetson Orin device is running either by connecting to your device's debug UART interface, or by attaching a display to the Orin's video port.
I want to use the debug UART interface
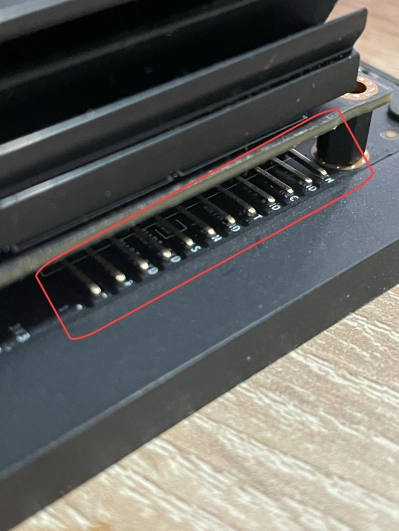
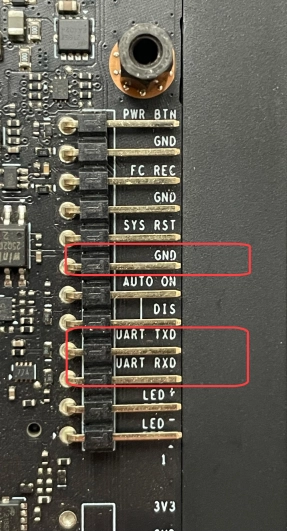
If you are using the Jetson Orin Nano Devkit, Jetson Orin NX, the Seeed J3010 or Seeed J4010 you will need a USB to TTL converter cable and a serial communication program like minicom. The USB to TTL converter's pins need to be connected to the TX, RX and GND pins on the Jetson carrier board, which are located underneath the Orin module.
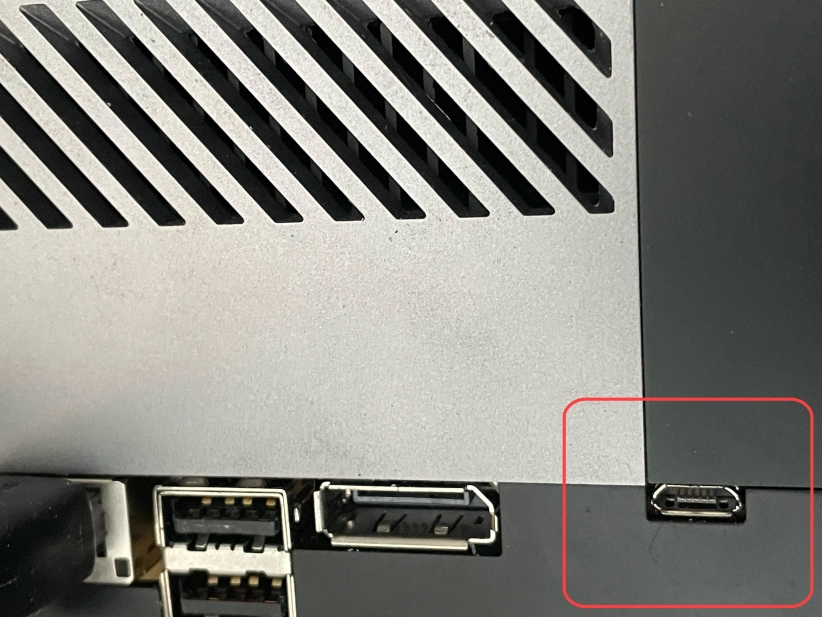
On Jetson AGX Orin 32GB and Jetson AGX Orin 64GB Devkits, the debug UART interface is available through the micro-USB interface, when the device is powered on. On Linux machines, the serial connection can be accessed using minicom -D /dev/ttyACM0.
If you are using the UART interface, the UEFI firmware version will be printed in the boot sequence logs:

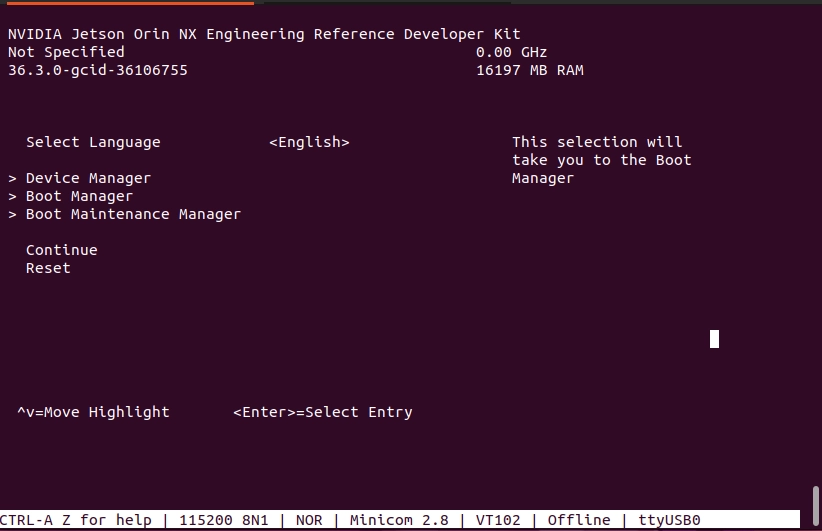
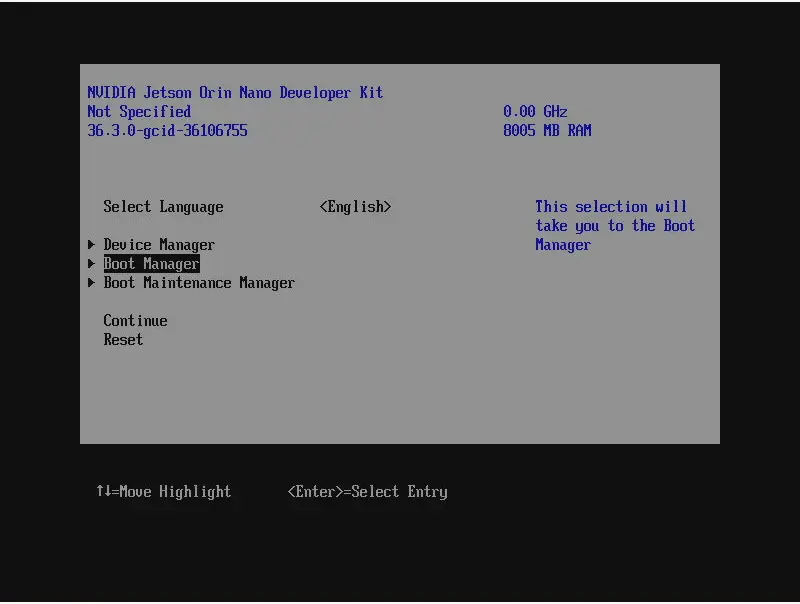
Alternatively, if booting is stopped in the UEFI menu by pressing Esc, the firmware version will be printed in the top-left corner:

If instead you would like to use a monitor and a keyboard, please expand the section below.
I want to use a monitor
If your Jetson Orin is connected to a monitor, the UEFI firmware version will be displayed at the top of the screen:

What type of video cable do I need for my device?
A Display Port cable or Display Port to HDMI adapter is necessary on the following devices:
* Jetson AGX Orin 32GB
* Jetson AGX Orin 64GB
* Jetson Orin Nano Devkit
An HDMI cable is required for:
* Jetson Orin NX in Xavier NX Devkit
* Seeed J3010
* Seeed J4012
If the firmware version on your device is older or newer than v36.3, please re-flash its firmware by following the corresponding guide below:
Booting balenaOS flasher images from a USB key
In the unexpected event that your device does not boot the balenaOS flasher image from the attached USB key automatically, please use the following steps to manually select the USB key for booting:
I want to use the debug UART interface
1) If you are using the Jetson Orin Nano Devkit, Jetson Orin NX, the Seeed J3010 or Seeed J4010 you will need a USB to TTL converter cable and a serial communication program like minicom. The USB to TTL converter's pins need to be connected to the UART TXD, UART RXD and GND pins of the Jetson carrier board, which are located underneath the Orin module.
On Jetson AGX Orin 32GB and Jetson AGX Orin 64GB Devkits, the debug UART interface is available through the micro-USB interface, when the device is powered on. On Linux machines, the serial connection can be accessed using minicom -D /dev/ttyACM0.
2) Power on the device and press Esc when prompted by the UEFI firmware, or F11 to enter the Boot Manager Menu directly.

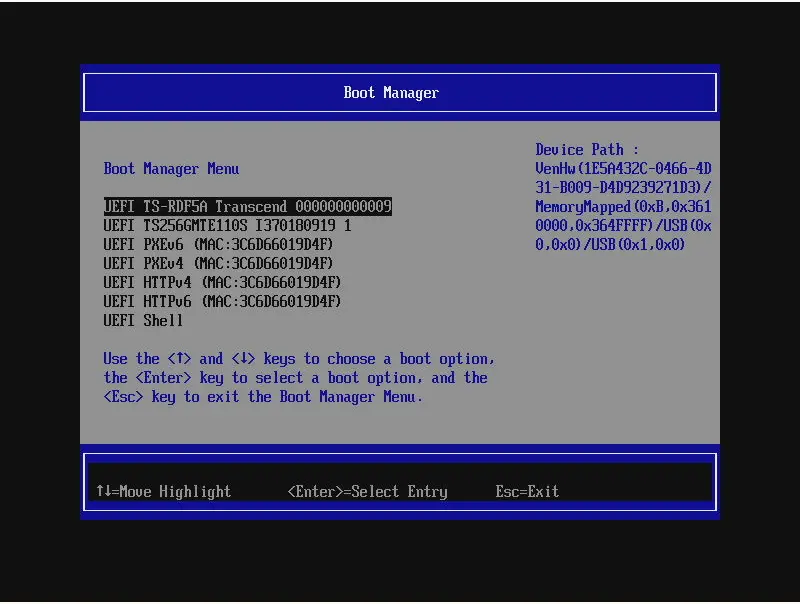
If Esc was pressed, navigate to the Boot Manager Menu
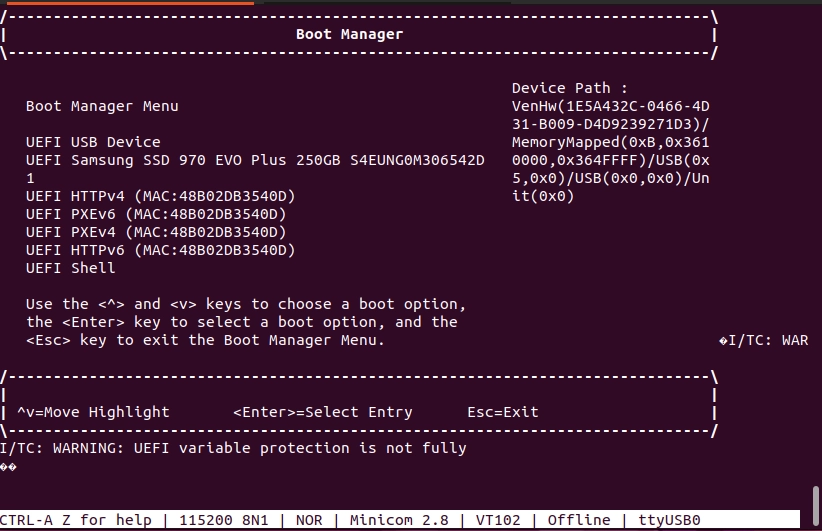
3) Select the attached USB device as boot media
4) Your device should boot from the attached USB key and provision the internal storage. Once provisioning is complete and the device shuts down, the USB key can be unplugged.
I want to use a keyboard and monitor
1) Attach a USB keyboard and a monitor to the device.
2) Power on the device and press
Esc when prompted by the UEFI firmware, or F11 to enter the Boot Manager Menu directly.
3) Select the attached USB key as boot media:
4) Your device should boot from the attached USB key and provision the internal storage. Once provisioning is complete and the device shuts down, the USB key can be unplugged.
Should you encounter any other unexpected issues while provisioning your device, please follow the instructions for our Jetson Flash tool to flash your device in recovery boot mode.
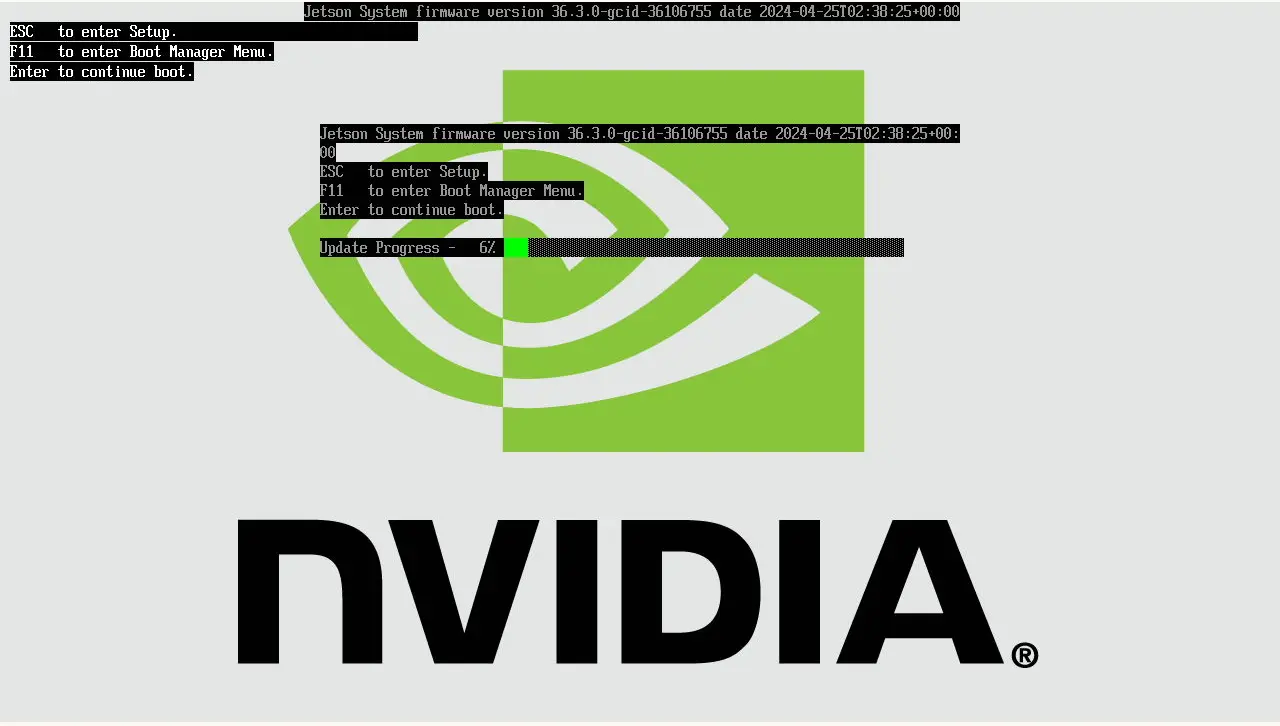
Post-provisioning UEFI firmware update
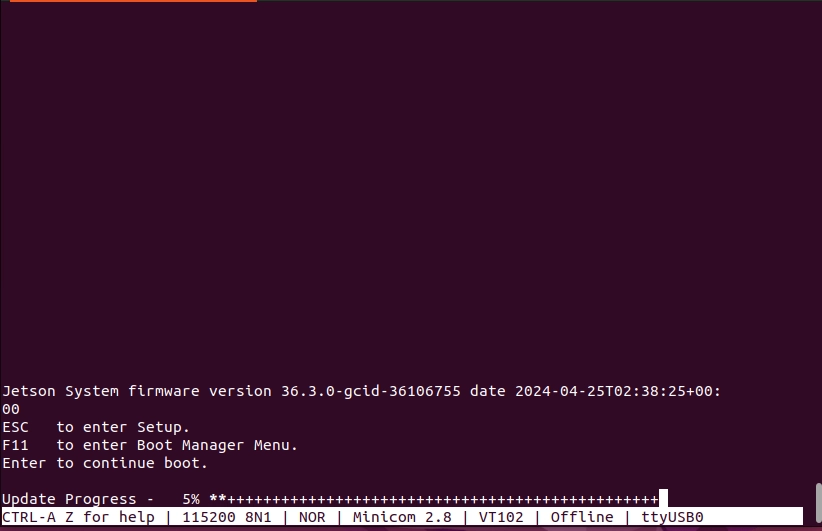
Once your device has been provisioned and powered back-on, it will attempt to update the UEFI firmware automatically. The status of the UEFI firmware update process is depicted by a progress bar on the debug UART interface, as well on the display, if connected.
Please do not interrupt this process by resetting or cutting power to the device.
If you are using the debug UART, the firmware update process will be displayed by a progress bar similar to the one below:
If a display is connected to the device, the firmware update process will also be rendered on the screen: